

How To Remove A Central Heating Radiator
Removing Radiators To Decorate, Fabricated Simple
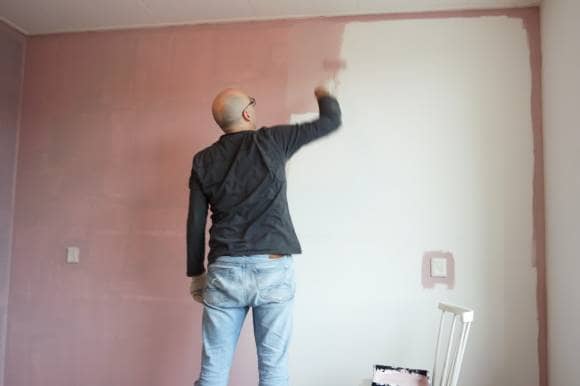
If you are planning on doing some decorating, chances are that you lot'll demand to remove and refit a radiator.
Many radiators can be quite heavy, then even if you think you'll be able to elevator the radiator by yourself we recommend getting someone to assistance you.
Picket the video guide or follow the simple step-by-step process for full instructions on removing a radiator for decorating.
What Tools Do I Demand To Apply?
To safely remove your radiator from the wall, you will need the following tools:
- An adjustable spanner
- A pair of grips
- 2 towels
- A washing up bowl
- A radiator drain key
How To Remove A Radiator For Decorating
This simple task should have around30 minutes.
Just follow these step-by-step instructions to remove your radiator for decorating.
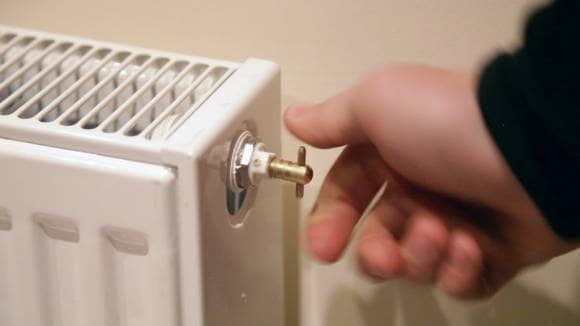
- Plough Off The Radiator
Close your radiator valves past turning them clockwise until they are tightly shut.
This volition isolate the radiator from the rest of your central heating system.
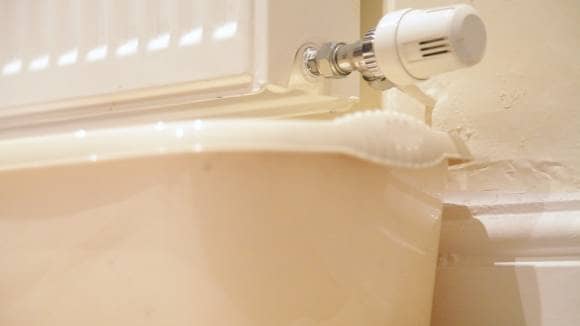
- Place Towels & Bowl Beneath The Radiator
Place a couple of towels & the washing up basin underneath the radiator valve.
This will grab water from your radiator as you begin to remove it, helping to avert whatsoever nasty stains on the floor.
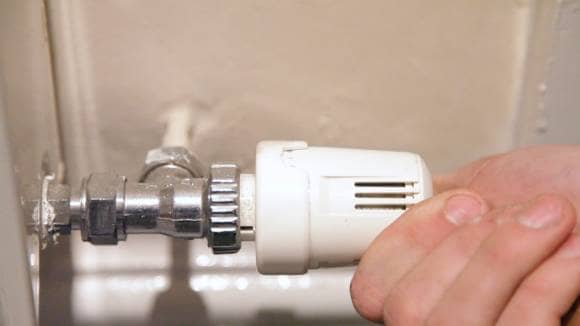
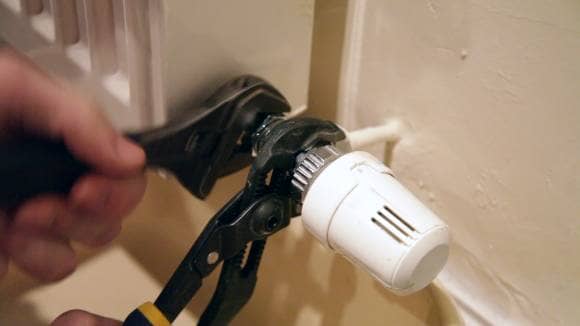
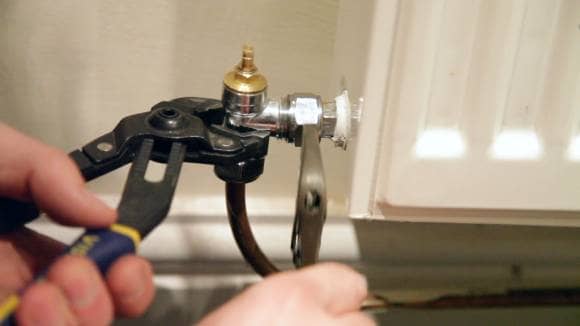
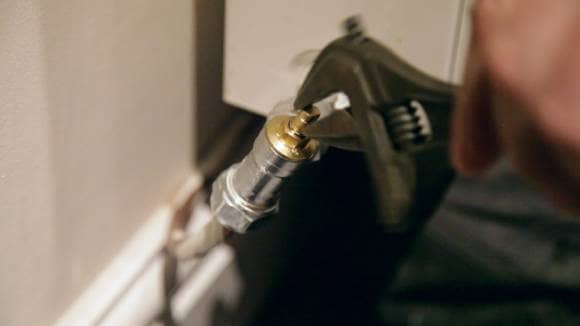
- Undo The Radiator Valve Nut
Once the bowl is in place, have your grips and adjustable spanner and gently disengage the radiator valve nut.
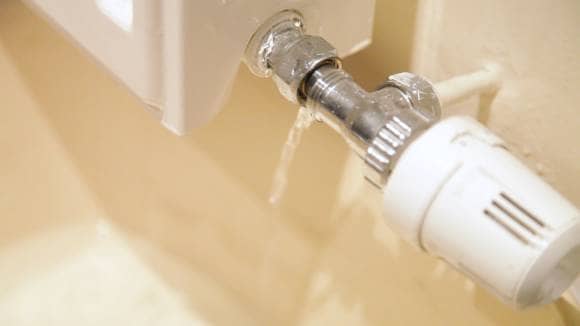
- Drain Water From The Radiator
Bleed the h2o from the radiator and into the washing up bowl.
- Become The Terminal Few Drops Out Of The Radiator
Using a bleed key, open the bleed valve, past turning your radiator fundamental anti-clockwise – this volition help to drain the water into the basin.
- Move To The Other Valve
When the radiator is tuckered close the drain valve dorsum up (clockwise), motion to the other side of the radiator and so undo the valve nut on that side.
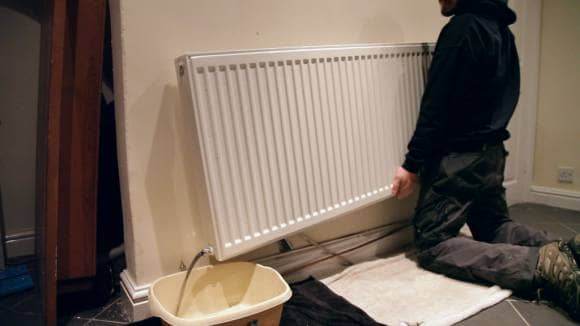
- Remove Any Remaining Water
Gently lift the radiator from the brackets and tip out any remaining fluid into the washing bowl.
Go on in mind that some radiators are heavier than others, and so you may demand help when lifting.
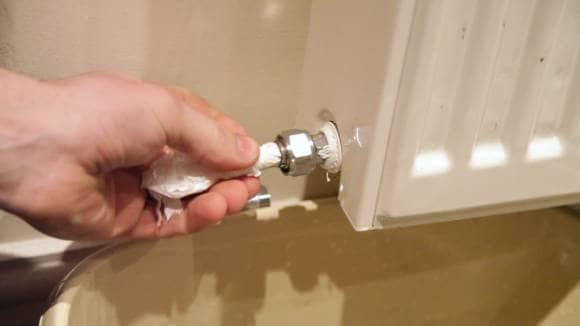
- Bung Upwardly The Valve Inlets
When you are happy that all of the excess water has been removed, hurl upwards the radiator valve inlets with tissue paper.
You tin can so remove the radiator from the wall.
- Lift The Radiator Off The Wall
Gently lift the radiator off its brackets and movement aside.

- Pigment Your Wall
Give your wall a fresh lick of paint and leave to dry.
- Reconnect Your Radiator
Once the paint has stale, put your radiator back on the brackets and reconnect it to the valves & pipework – opening the valves fully by turning them clockwise.
Once you have reconnected your radiator to the flow and return pipes, it is time to refill the radiator – you tin learn how to practise that beneath.
Simply, for now, you have successfully removed a radiator for decorating.
Well done!
How Do I Refill My Radiator?

When you remove a radiator, the pressure in your boiler can drop – similar to what happens if you have a leak – so you will have to top up your heating system to go information technology back up and running properly.
If yous have an open-vented heating organization, h2o will automatically come back into your radiator when you lot open the radiator valves.
Nonetheless, with a pressurised heating organization you will take to open the filling loop to elevation upwardly the organisation pressure.
And that is it – you lot have successfully removed and replaced a radiator for decorating – I hope you didn't forget to paint the wall!


John trained in journalism before finding his fashion to the BestHeating Communication Heart team. He uses his journalism skills to meticulously research heating topics and bring yous the latest news and views on all things abode heating related. He'll also shell you at whatever sport that involves a cue!
Source: https://www.bestheating.com/info/how-to-remove-a-radiator-for-decorating/
0 Response to "How To Remove A Central Heating Radiator"
Post a Comment